

7 Steps Backyard Landscape Design Planning Guide
How to Plan Your Backyard Landscape Design in 7 Steps
Planning your backyard landscape before hiring a designer saves you time and money. These seven steps walk you through the thinking process professionals use. You'll organize your ideas, identify must-haves, and understand where professional help adds the most value. Start with the guide to luxury landscape design for context, then work through each step below.
Step 1: Define How You'll Use the Space
How you envision using your backyard shapes every design decision. Do you want to entertain large groups, create a family gathering area, build a quiet retreat for reading, or set up a sports space for kids? Write down your top three uses. These anchor all other choices. A backyard designed for entertaining looks different from one built for daily family relaxation. Clarity here prevents regrets later.
Step 2: Measure and Map Your Lot
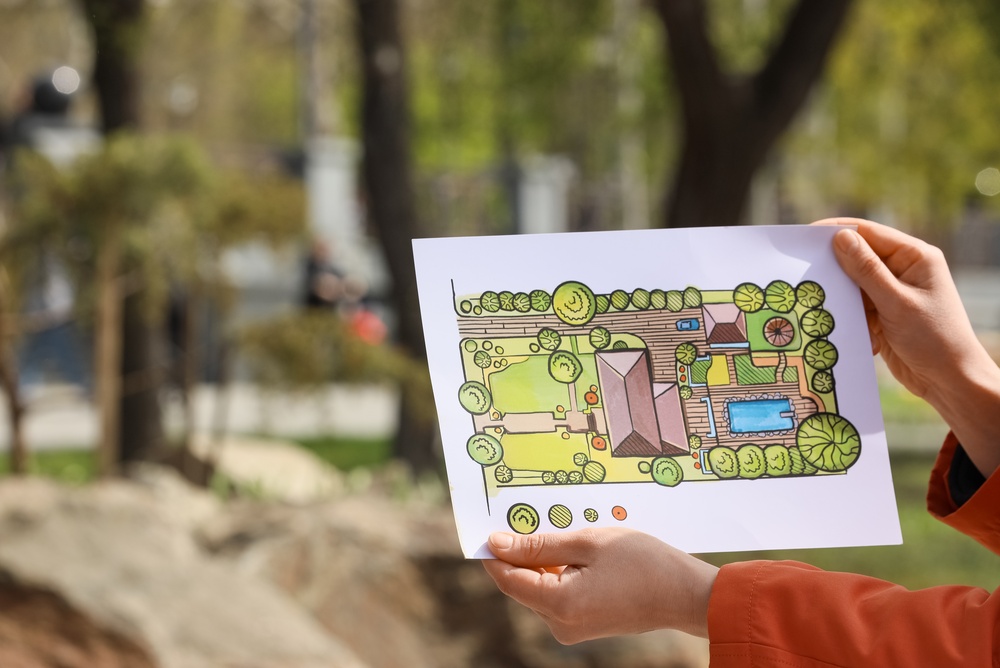
Draw a rough outline of your yard to scale. Mark where the sun rises and sets, noting shade patterns. Identify your slope and drainage: does water collect in corners? Note mature trees, utilities, and views you want to keep or screen. Mark windows and doors from your house. This map becomes your planning canvas. Professionals use detailed surveys, but your rough sketch reveals the constraints and assets your designer will work with.
Step 3: Create Activity Zones
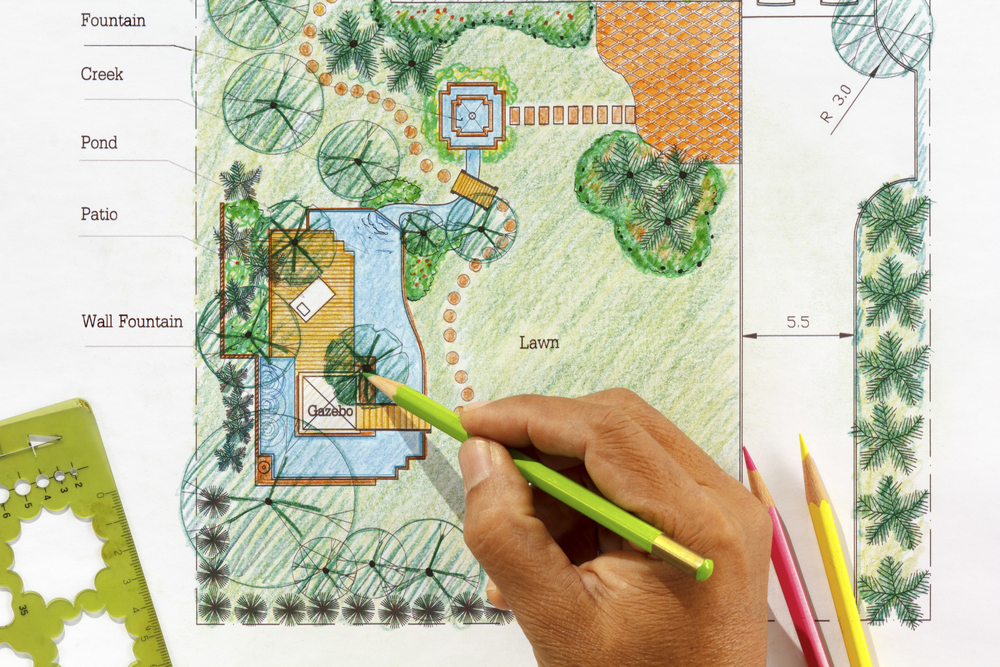
Divide your backyard into functional areas like a cooking zone near the kitchen, a dining zone for gatherings, or a lounging zone with seating and shade. If you’re adding a pool, it becomes an anchor zone. Reserve space for pathways connecting zones. Each zone should feel intentional and have a clear purpose. Poor zoning leads to wasted space and awkward flow. Good zoning maximizes usability and creates a sense of organization.
Step 4: Pick Your Anchor Features
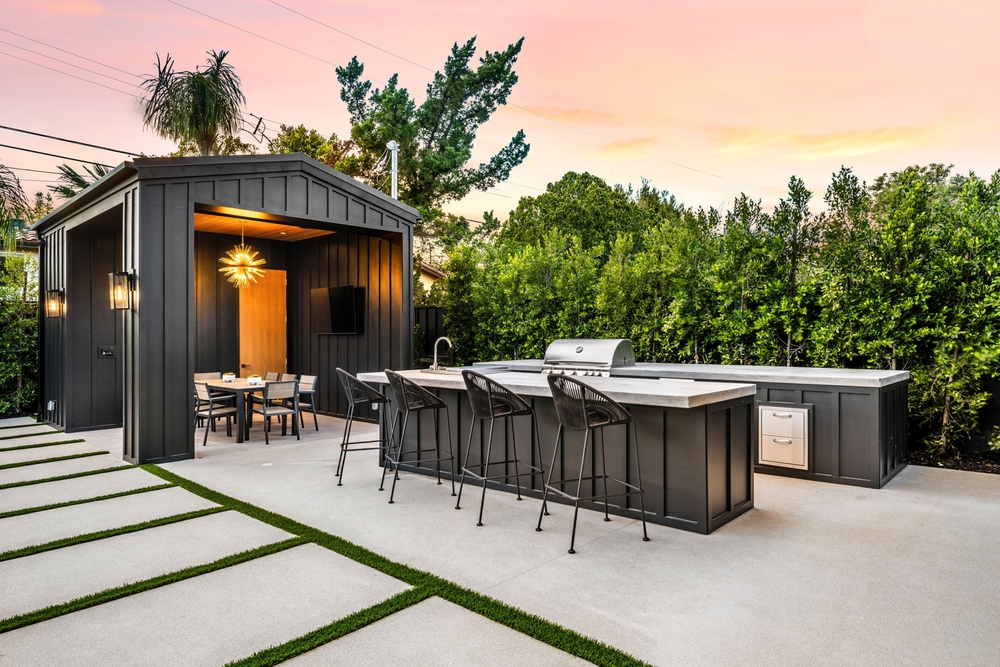
Anchor features are your backyard’s centerpieces: a pool, outdoor kitchen, fire pit, or pergola. Choose one or two, not five competing for attention. Your selection shapes everything else. Entertaining-focused backyards anchor around an outdoor kitchen. Relaxation-focused spaces center on a lounge zone with a fire pit. Your anchor choice determines the overall vibe, layout, and budget reality.
Step 5: Choose Materials and Plants
In Temecula, material choice is critical. Choose heat-tolerant pavers or travertine for decking; avoid materials that get too hot to walk on barefoot. Select drought-tolerant native plants and shrubs that thrive in Southern California heat without constant watering. You can consider colors that stay cool and age gracefully. Permeable materials reduce runoff and support water conservation. Material choices affect both comfort and maintenance long-term.
Step 6: Plan Lighting and Irrigation
Outdoor lighting plays a dual role: path lighting guides movement safely at night, while accent lighting highlights trees and features for ambiance. Irrigation design is equally important. Plants thrive on less water than expected with proper planning. Drip irrigation and smart controllers reduce waste. Professional designers plan both systems early, avoiding costly retrofits.

Step 7: Set a Budget and Phase It
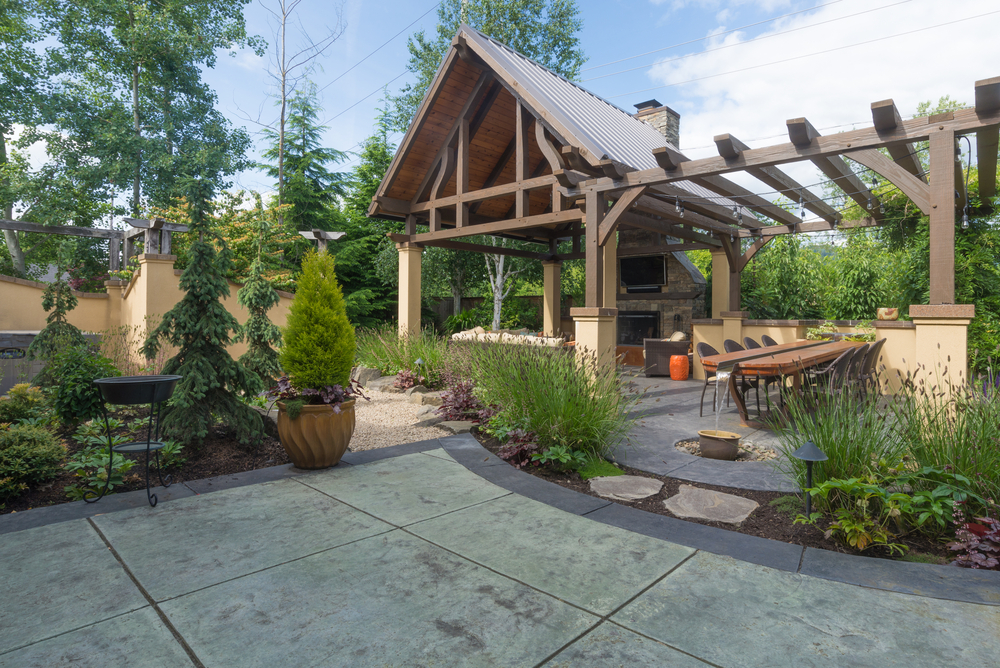
Determine your total budget. Identify must-haves (phase one), nice-to-haves (phase two), and future additions (phase three). Phasing spreads costs over time and lets you live in the space, then refine. Discuss phases with your designer to ensure early phases work standalone.
When to Bring in a Designer
After these steps, you understand your needs. A designer takes this vision and adds 3D renderings, permit expertise, material sourcing, and construction coordination. Professional design prevents costly mistakes and ensures your space flows beautifully.
Ready to move forward? Review our landscape design guide for deeper context, then schedule your free consultation to bring your plan to life.